I’ve already talked about how to declutter beauty products and cosmetics, and as much as I love that approach for skincare, body care and hair care, that strategy, for me, didn’t really work that well for makeup.
Why? Because I love having different options of products to choose from, instead of only one favourite version like I usually do with other beauty products.
That’s why after I tested a few decluttering methods, I came up with my own favourite 6-step process for makeup decluttering. This works amazingly, especially if you’re a makeup lover like me, but you still want to have a small curated collection without feeling you’re missing out on something.
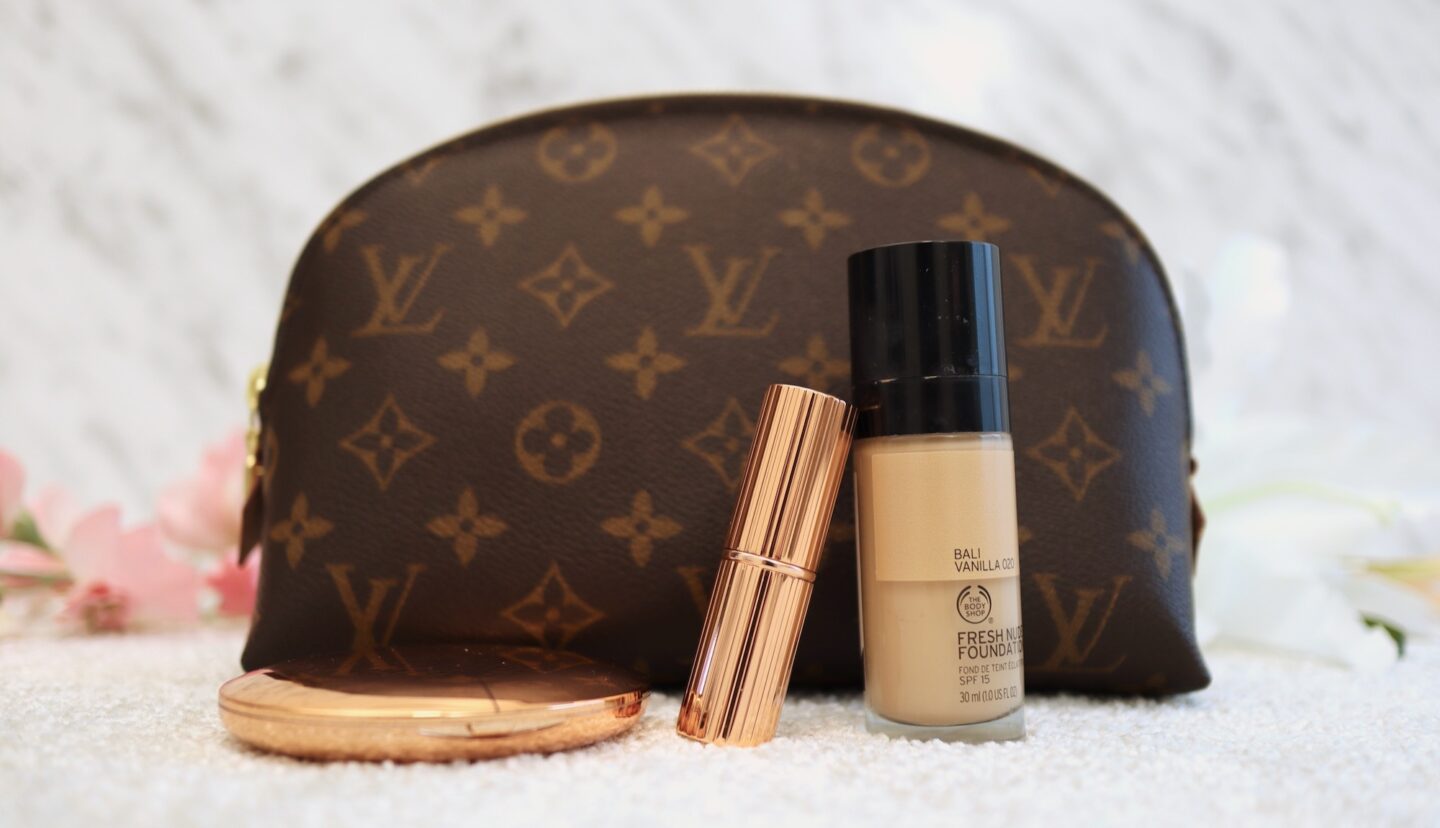
1. HOW MANY DIFFERENT MAKEUP LOOKS DO YOU WANT?
The reason no other method of decluttering worked is that I never looked at the big picture of how many makeup looks I even want. That’s why we should start our decluttering process by writing down how many different looks we want to create from our makeup collection.
The most common options (and the ones that I picked) are:
- ‘No makeup’ makeup look (for days off)
- Everyday look (for work, casual days, hanging out with friends etc.)
- Fun look (night out, dates, my Youtube videos etc.)
- Special occasion look (weddings etc.)
How many makeup looks you pick should be very personal to you and your lifestyle. Because I love doing makeup, my list is a bit longer and I included all four looks, but my sister, for example, decided to have only two looks; an everyday look and a fun look.
Also, if you have trouble letting go of makeup items for special occasions that you never use otherwise, you can decide to go to a makeup artist or use a helping hand of a friend when the time comes. This will help you minimise your collection even more.
2. PICK YOUR PRODUCTS
Once you’re happy with the list of looks that you want to create, then you can write down which products would you like to use for each look. Here I’m not talking about specific products you own, but just general makeup items.
And now I will break all of my looks down as an example and some inspiration 😉
‘NO MAKEUP’ MAKEUP LOOK
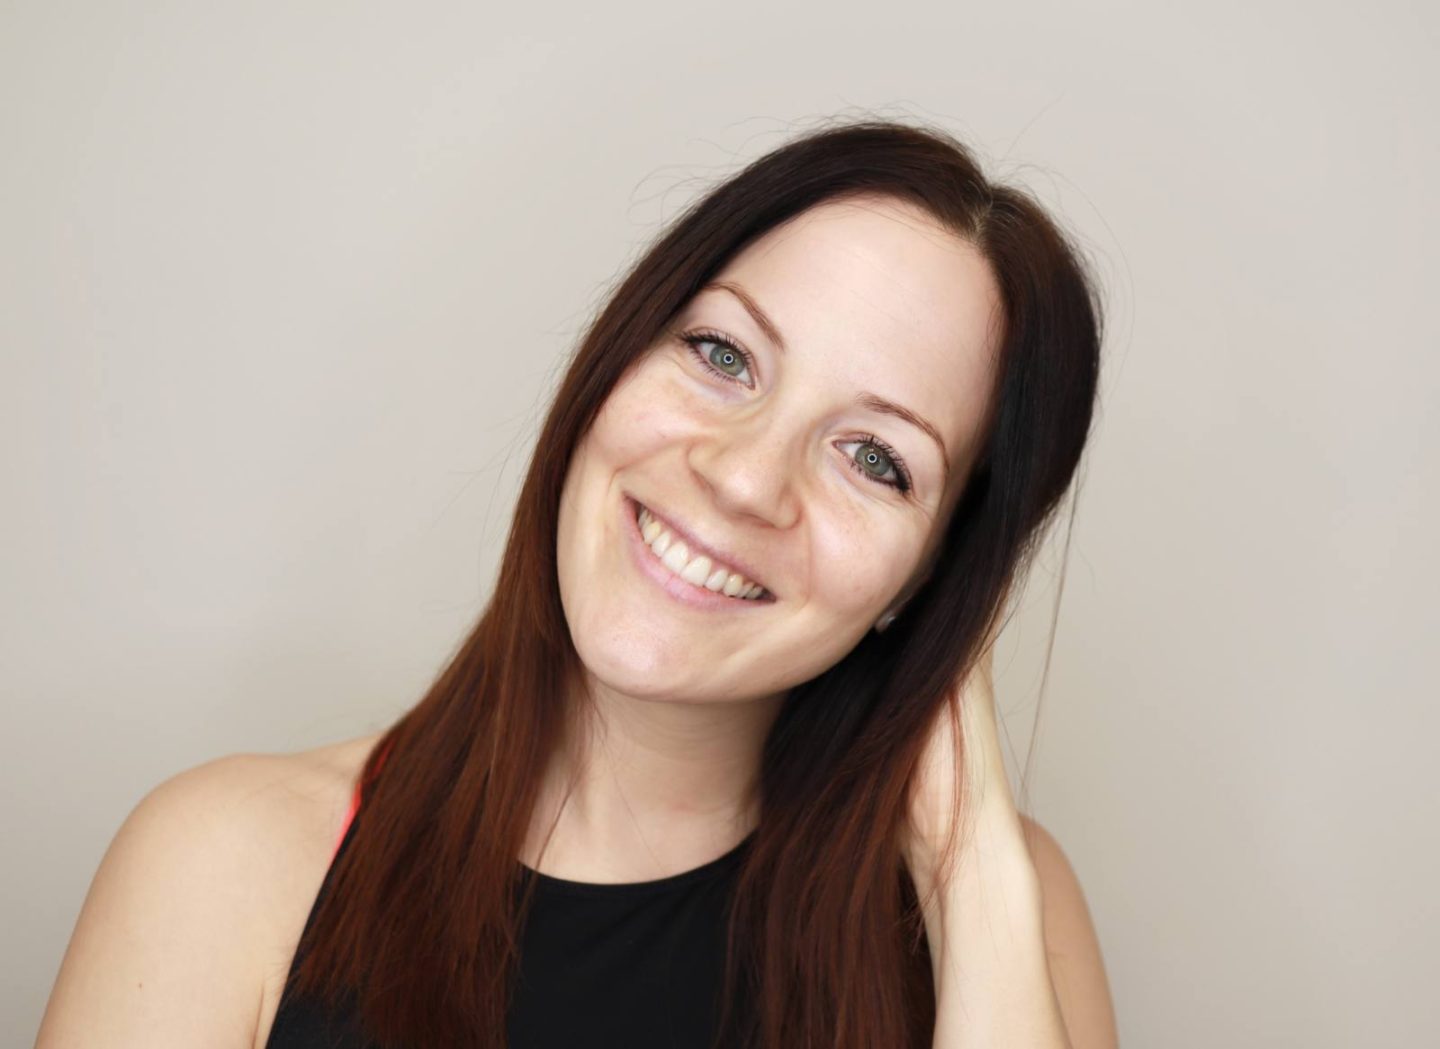
- Tinted brow gel
- Mascara / waterproof mascara
- Nude eyeliner for the inner rim
EVERYDAY LOOK

- CC cream
- Finishing powder
- Bronzer
- Blush
- Eye primer
- A neutral matte eyeshadow palette
- Nude eyeliner for the inner rim
- Neutral eye pencil
- Mascara
- Tinted brow gel
- Lip pencil
- Lipstick
FUN LOOK
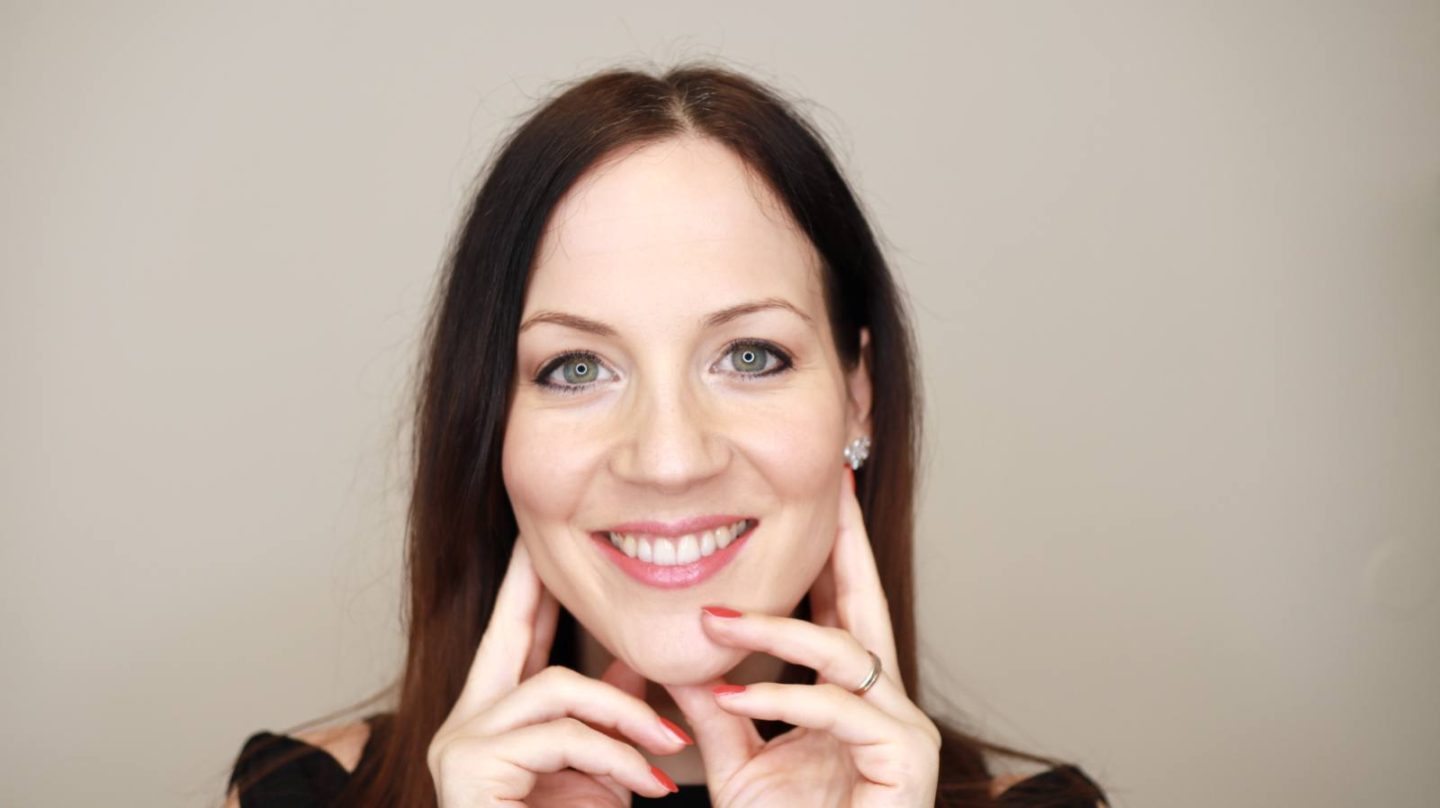
- Concealer
- Liquid foundation
- Finishing powder
- Bronzer
- Blush
- Eye primer
- Neutral eyeshadow palettes (matte & metallics)
- Neutral & colourful eye pencils
- Nude eyeliner for the inner rim
- Mascara
- Tinted brow gel
- Lip pencil
- Lipstick
SPECIAL OCCASION LOOK
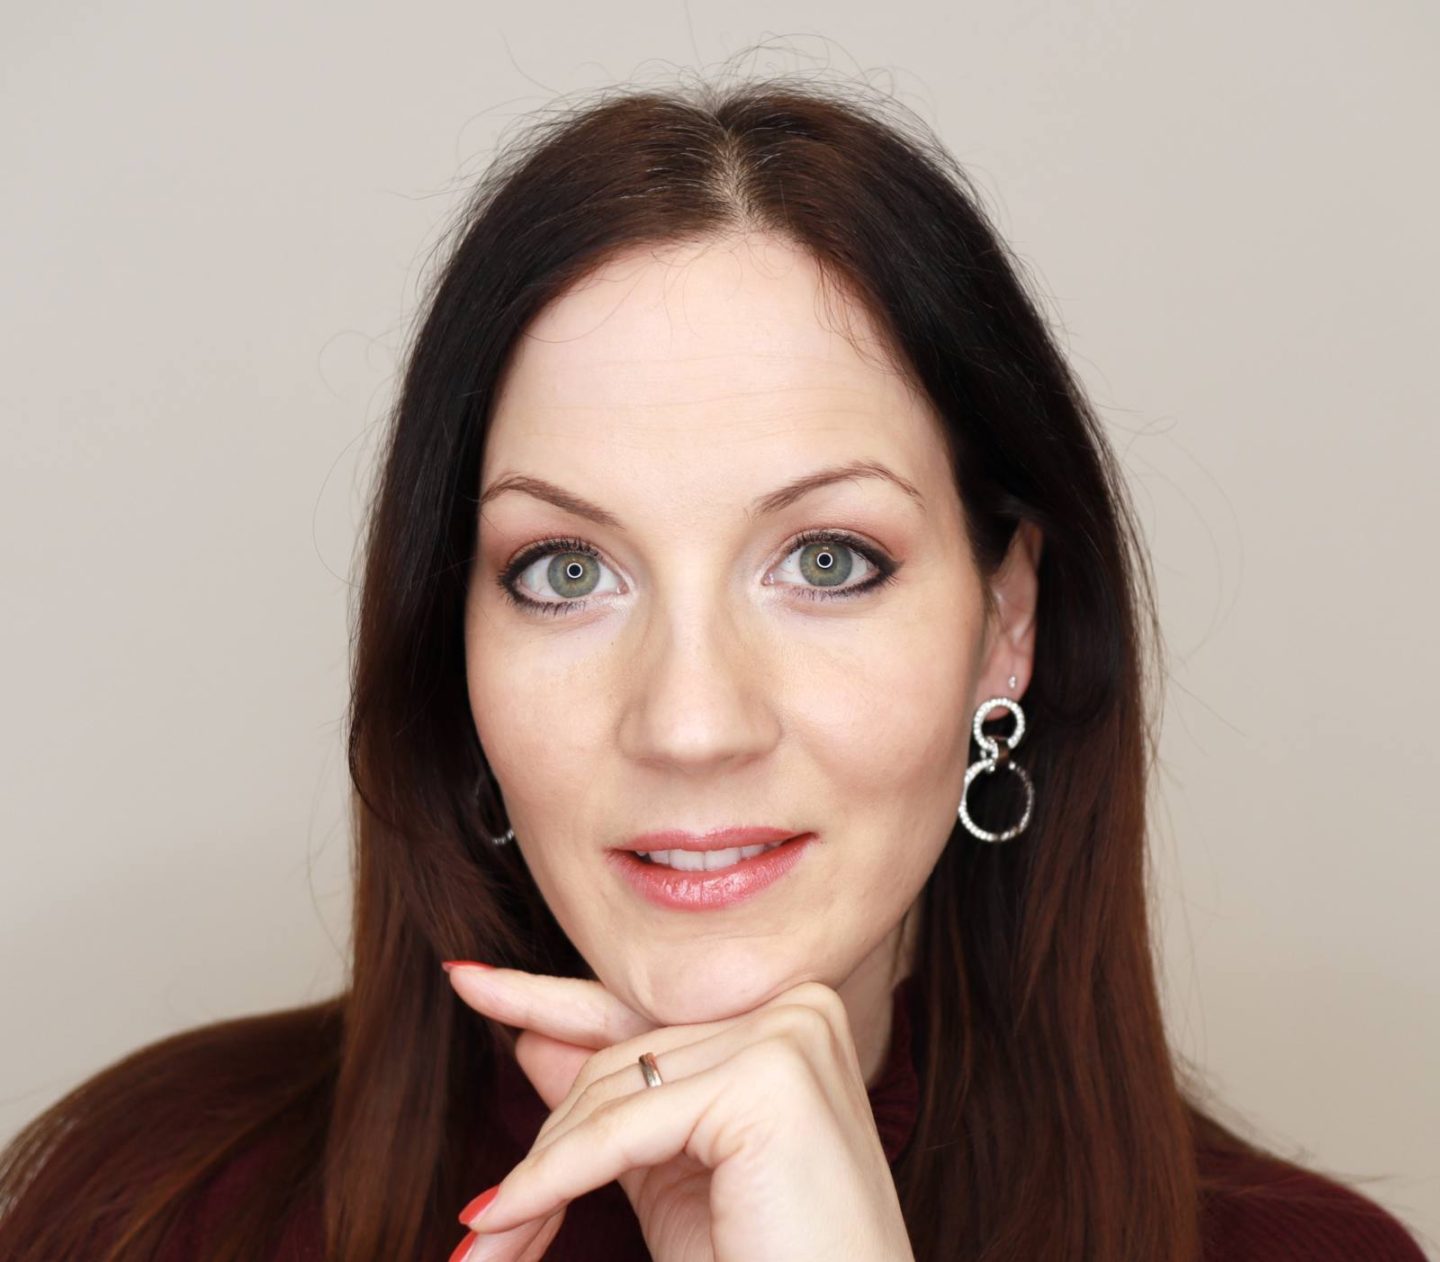
- Concealer
- Liquid foundation
- Finishing powder
- Bronzer
- Blush
- Eye primer
- Neutral eyeshadow palettes
- (deep shades & metallics)
- Waterproof black eyeliner/eye pencil
- Waterproof mascara
- Nude eyeliner for the inner rim
- Tinted brow gel
- Lip pencil
- Lipstick
3. ADD ALL THINGS UP
Now that you have all of your lists in front of you, you can add all the products up, so you have a final list of items you want to have in your makeup collection.
Here is an example of my list:
- Concealer
- CC cream
- Liquid foundation
- Finishing powder
- Bronzer
- Blush
- Eye primer
- Eyeshadow palette
- Neutral & colourful eye pencils
- Waterproof black eyeliner
- Mascara
- Waterproof mascara
- Tinted brow gel
- Lip pencil
- Lipstick
4. THINK ABOUT OPTIONS
As I said before, the big difference between makeup and skincare products is that we usually want to have a bit more versatility with makeup to choose between different lipsticks, blushes, eyeshadows, eyeliners etc.
Now go through your list and write * next to every category where you want to have a bit more items to choose from.
But we’re not stopping here; now also add a number of how many different products you want to choose from. Think about different colours and textures that you’d like to have and write the details next to the number.
Obviously, we still want to keep this number small, because we want to avoid decision fatigue and stress. So the best rule of thumb here is to pick enough items you feel excited about them, but not so many that you feel overwhelmed. If you need more guidance on this, you can also read a blog post on How much stuff should we keep with some ice-cream examples 😉
But now, let me show you my list again as an example:
- Concealer
- CC cream
- Liquid foundation
- Finishing powder
- Bronzer *2 (shimmer, matte)
- Blush *3 (rosy, nude, peachy)
- Eye primer
- Eyeshadow palette *2-3 (neutral mattes, neutral metallics, deeper shades)
- Neutral & colourful eye pencils *5 (black, brown, olive green, deep plum, bright colour)
- Waterproof black eyeliner
- Mascara
- Waterproof mascara
- Tinted brow gel
- Lip pencil *3 (nude, deeper nude, coral)
- Lipstick *5 (light nude, classic nude, deeper nude, bright coral, soft coral)
5. START DECLUTTERING
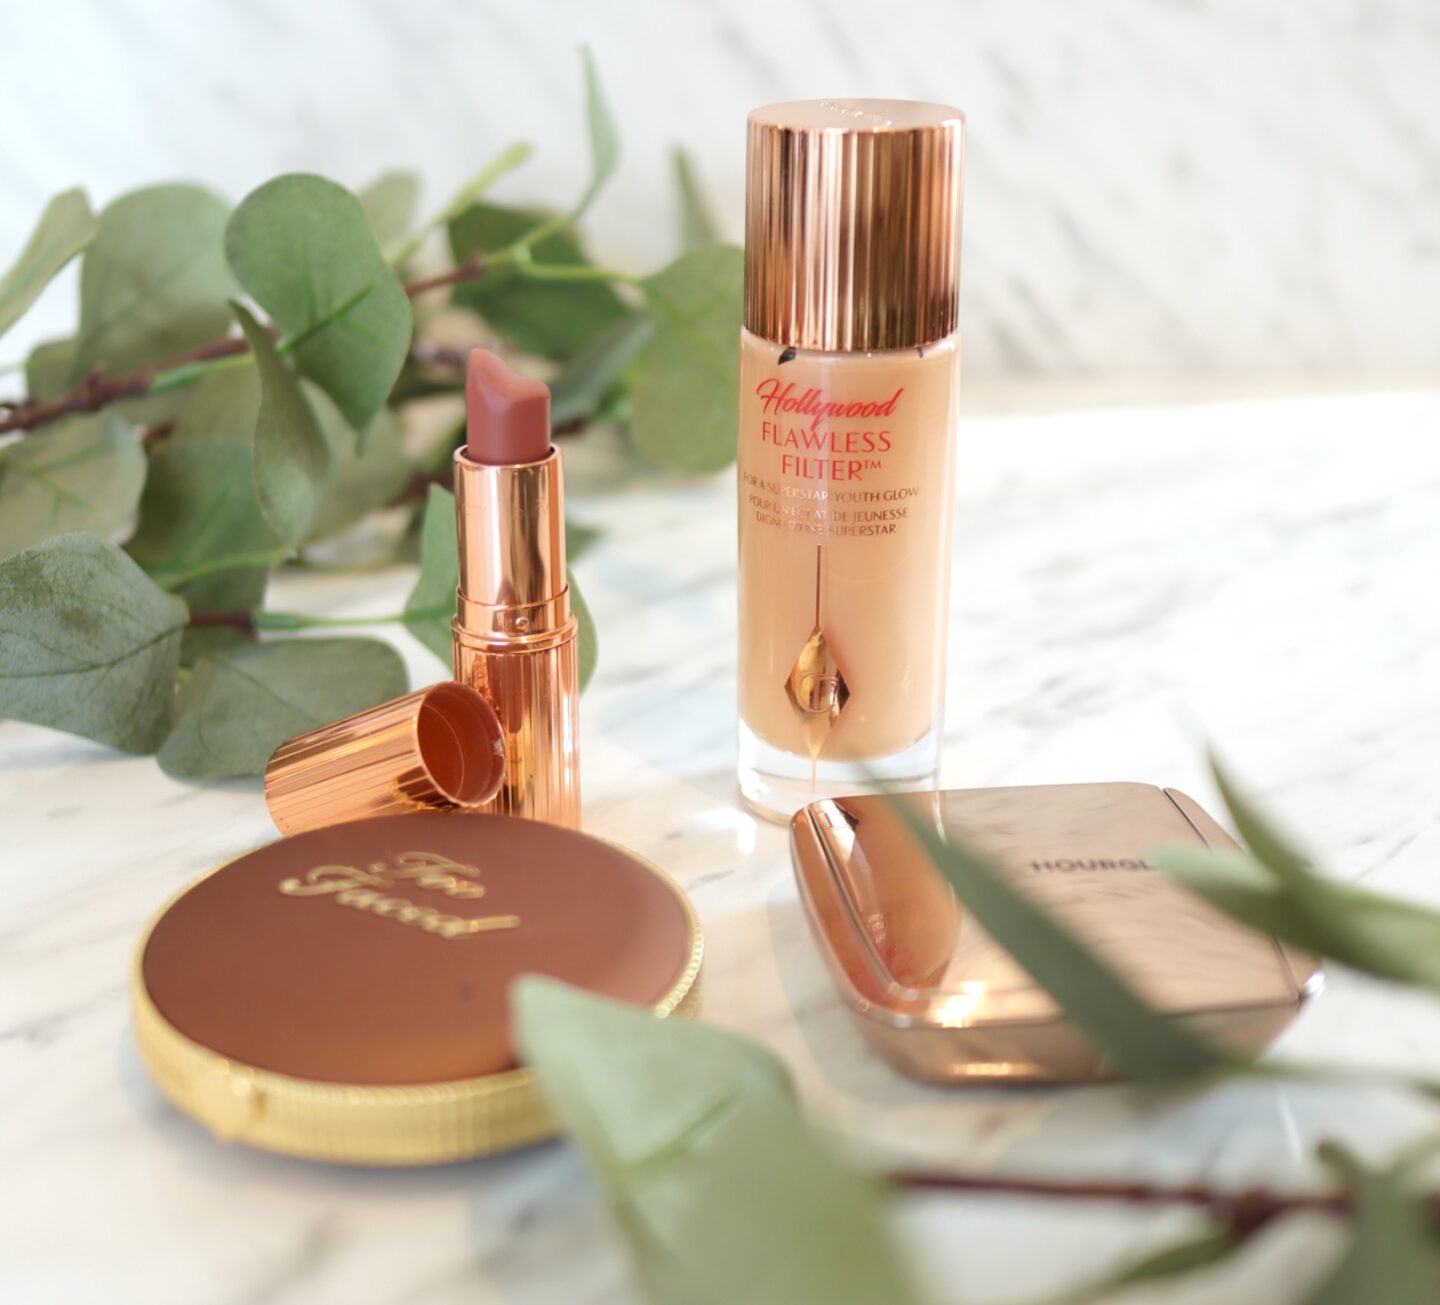
With your list in hand, decluttering should be effortless and straightforward: just pick your absolute favourite items or holy grails that correspond with the products on the list. Pick items you really love, and that work for your skin, because our makeup collection should bring us a lot of joy.
In the end, you should have a curated makeup collection with which you can create all the different looks that you want. And everything that is left? You can finally declutter it. Easy!
But what if you have some duplicates you like, like three black eyeliners or two similar nude lipsticks and you don’t want to let them go? Then I suggest you do a project pan to use all these items up.
The best way to do this is to put your duplicates in storage out of sight, so you don’t have to think about them every single day. Then once you use one of your products up, you can go back into storage and bring your duplicate back into your makeup collection.
This way, you’ll always have a curated makeup collection, and you’ll never feel overwhelmed. Plus, doing a project pan will help you realise which products work for you and which don’t because you’re going to have a lot of time to use them and see their effectiveness.
UPDATED 2025 method on how to declutter makeup:
BONUS TIP – DECLUTTER YOUR MAKEUP BRUSHES AS WELL
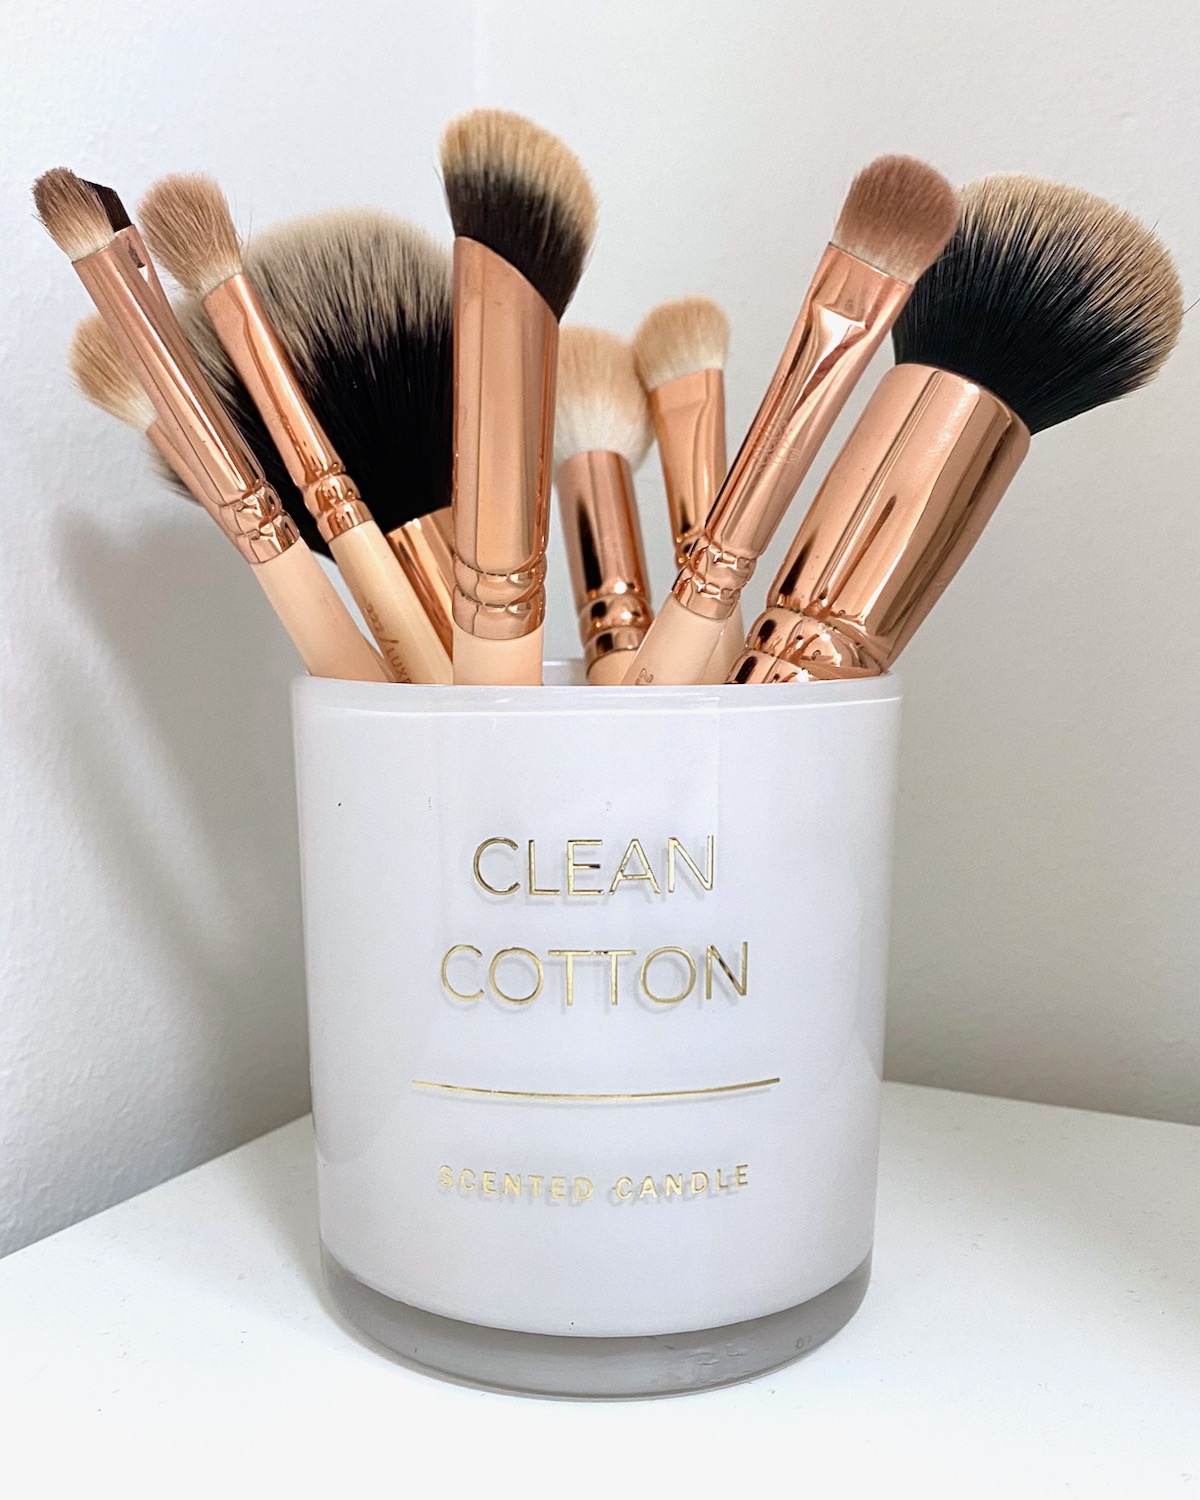
When you’re going through your makeup you have a perfect opportunity to declutter your makeup brushes as well.
Here my number one tip is to declutter all of your duplicates, because if you’re not a makeup artist you really don’t need a huge selection. We should wash our makeup brushes once every week (or two weeks, if you’re like me, hehe) anyway, so even if you’re changing up your eye or face looks this should still work great. So picking your favourite brush for a specific purpose is the best way to simplify your brush collection.
And another thing to consider when deciding what to keep and what to discard is to think about which makeup brushes you need to create all of your looks from your list. And that’s pretty much it for decluttering makeup brushes!
6. DON’T FORGET ABOUT AN EXPIRATION DATE
The last thing that I also have to mention is the expiration date. Most people don’t know that makeup has an expiration date, but if you look at the back of the product, you can see a symbol of a little open jar with a number that indicates how many months after you’ve opened the item you can still use it.
This is a guideline, I sometimes use my products for a few months longer, but I pay extra attention to consistency, colour and smell to make sure the items are still good. But if you have any items that have been opened for a really long time, then it’s best to trash them.
You can also write a date of opening on the product every time you open it for future reference, so you know exactly how long you’ve had it for.
This will help you with future decluttering, and it will also open your eyes to how long it takes to use the entire product up. I’m always shocked when I finish a product, be it in skincare or makeup, but when I see that I needed two years to use it up, it helps me stay grounded in my future makeup and beauty purchases.
So this is my little guide for decluttering makeup. I hope you have fun with this process and that you create your simple and joyful makeup collection.
If you enjoyed this post, I’d be very grateful if you’d help it spread by sharing it! Thank you 😉
